Maya Make Object Roll On Floor

Foot Roll Study Elephant Tutorial Elephant Study

Sliding Pivot Foot Roll Tutorial Tutorial 3d Tutorial Rigs

Maya Tutorial Rotating Wheel Youtube

How To Create A Fold In A Polygon Plane In Autodesk Maya Youtube

Matrix Math In Maya Explained 3ds Max Tutorials Matrices Math Tutorial

Face Control Projection Tool For Maya Free Interface Display Scripts Plugins Downloads For Maya Tools Face Topology Script

Click create new empty layer icon in the render layer editor.
Maya make object roll on floor. Particles cannot collide with other particles. The object and curve on surface are now selected. By default maya automatically makes an object an active rigid body when you connect it to a field. You can make particle objects collide rather than pass through polygonal or nurbs surfaces.
3dmodeling 3danimation a quick and simple tutorial how to create fur in autodesk maya. Step six position using the scale rotate and move tools so that it sits at the end of the curve. You can then safely remove the rigid body physics if no. Click the create new layer and assign selected objects icon.
Select the object you want to animate along the path and click the curve on surface. Reflections on an object show among other. If this is the first layer you created the master layer will also become visible. Shiny objects reflect light directly.
To create a new layer with selected objects as members select your objects and do one of the following. Select soft rigid bodies create active rigid body. Select modify make live and then draw a curve on the plane. This will make positioning it easier.
Make an ik connecting the hip joint to ankle joint using the ik tool. Some surfaces are shinier than others for example a wet fish has a shinier surface than a dry leaf. Once your object has settled into position stop the animation select it and press ctrl a and select visual transform to apply the current location and rotation to the object. Specular highlights show the places on the object where the light sources are reflected at consistent angles.
Step five now go to object mode and select the model and go to modify center pivot. To create a rigid body from a single object select the object. Do one of the following. Either or both objects can be moving at the moment of collision.
To have multiple objects react as one rigid body you must create a rigid body from a hierarchy of objects. Depending on how shiny a surface is it reflects light in different ways. Rename this ik handle to ankle ik in the channel box. You can make a particle object collide with only one geometry object at a time.
Select animate motion paths attach to motion path. Matte objects diffuse light. Repeat the steps below if you need to make the particles collide with multiple objects. The object will fall assuming you haven t messed with gravity until it comes to rest naturally on the floor.
Before we start creating the iks make sure the tool option is set for sticky and the solver type is set to ikrpsolver to do this either double click on the tool icon in the menu tab or go skeleton ik handle tool option box. This will make positioning it easier. To create an empty layer do one of the following.

Autodesk Maya Rolling Bouncing Ball Tutorial Youtube

Twist Deformer Youtube

Maya Tutorial How To Create Twisted Rope In Autodesk Maya Ias An Alternative To Chain Or To Add Addition Details Maya Modeling Tutorial Maya

Maya Tutorial Shadow Catching With Invisible Object In V Ray Youtube
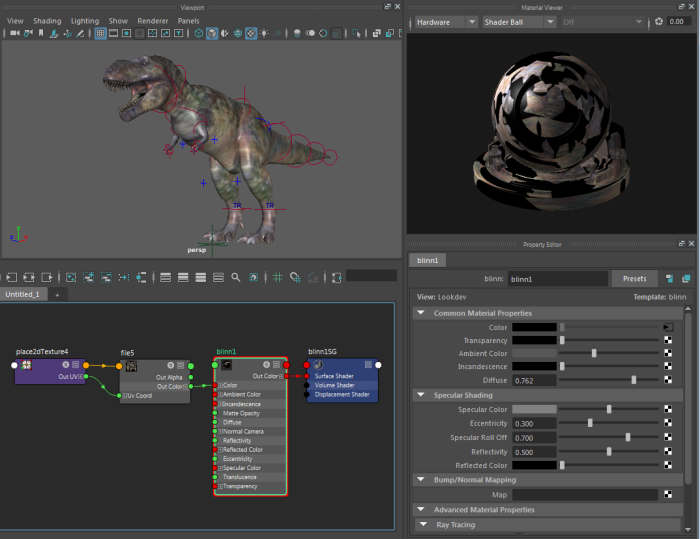
Create And Assign A Material To Your Object Maya 2017 Autodesk Knowledge Network
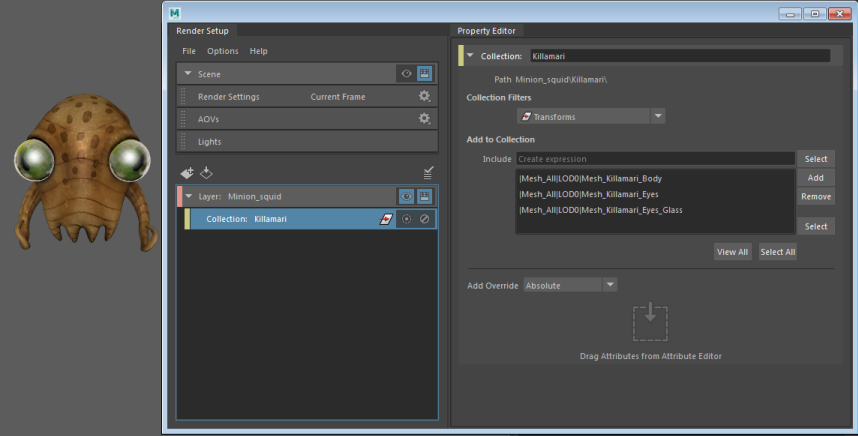
Create Subcollections Maya 2018 Autodesk Knowledge Network

Mouth Zipper Auto Rig System System Maya Setup
What Is World Space Object Space Local Space In Maya Learn Maya 3d Animation For Beginners 43 Youtube 3d Animation Maya Animation

3d Basics In Maya Intro To Cloth Simulation Youtube

Maya 2014 Tutorial How To Model A Bed New Youtube Tutorial 3d Modeling Tutorial Maya Modeling

Night Time Lighting In Maya And Mental Ray Lighting Shades Home Decor

Model With Shading Set To Unlit In Maya Object Game Development Texture

Autodesk Maya Tips And Tricks Digital Art Tutorial Kindergarten Art Projects Winter Art Deco Artwork

